Start your smokey eye Here
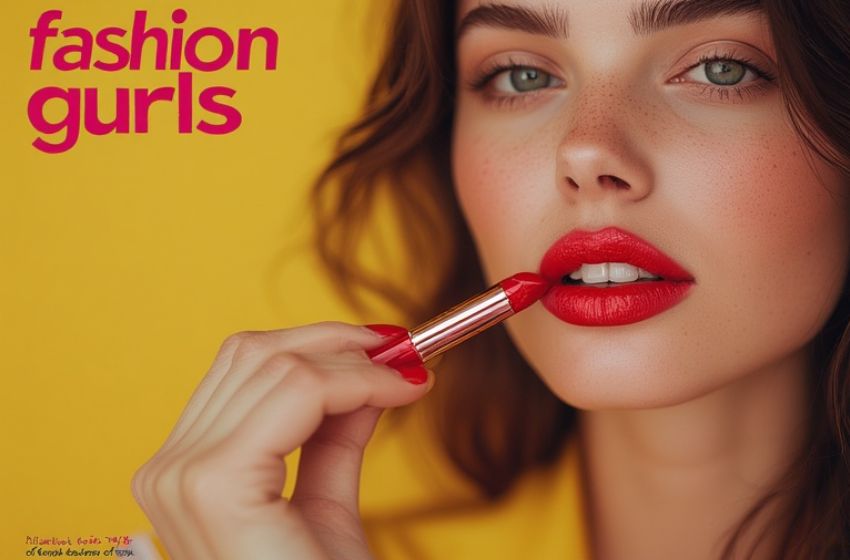
Step-by-Step Smokey Eye Makeup Tutorial for Fashion Gurls
A timeless classic in the world of makeup, the smokey eye is renowned for its sultry, dramatic look, making it a favorite for nights out, special occasions, or simply when you want to feel fierce. Whether you’re a makeup newbie or a seasoned pro, perfecting the smokey eye technique will elevate your beauty game. Here’s a step-by-step guide tailored just for you, fashion gurls!
### Step 1: Gather Your Supplies
Before diving in, you’ll need a few essential items:
– **Eyeshadow Primer**: To help your makeup last all night.
– **Eyeshadow Palette**: A mix of matte and shimmer shades, typically in blacks, grays, and browns.
– **Transition Shade**: A soft, neutral color to blend.
– **Eye Pencil or Gel Liner**: For a deep, dark line.
– **Mascara**: To make those lashes pop.
– **Brushes**: A flat brush for application, a blending brush, and a small pencil brush for detailing.
– **Cotton Swabs or Makeup Remover**: For any touch-ups.
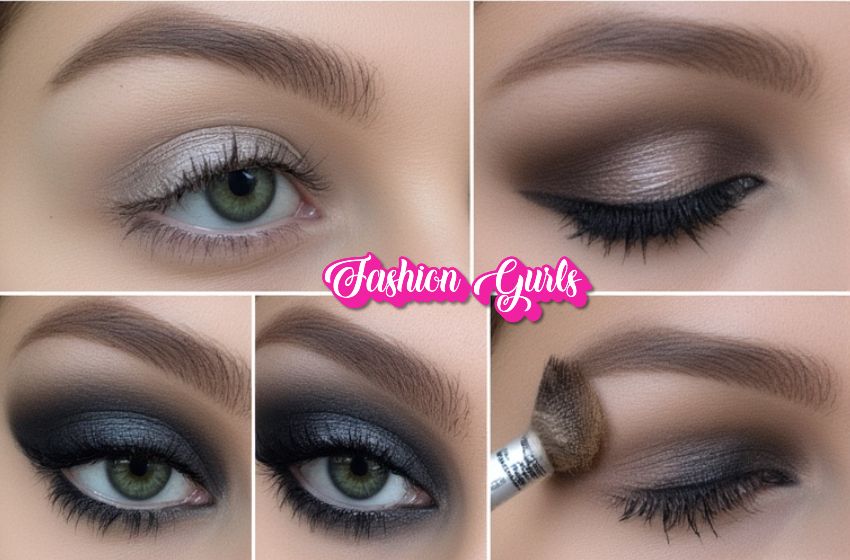
### Step 2: Prep the Eyelids
Start with clean, makeup-free eyes. Apply a thin layer of eyeshadow primer on your eyelids. This will create a smooth canvas and ensure your smokey eye stays in place all night long. Let the primer sit for a couple of minutes to set before proceeding.
### Step 3: Apply the Transition Shade
Using a fluffy blending brush, pick up your transition shade. This is usually a soft beige or brown. Apply this color into the crease of your eyelid and blend in circular motions. This step is essential for achieving a seamless look and helps your darker shades blend effortlessly.
### Step 4: Introduce the Darker Shades
Now it’s time to deepen that smokey effect! Take your darkest eyeshadow, typically a black or dark gray, and press it onto your eyelid using a flat brush. Start from the lash line and work your way up to the crease, focusing most of the color on the outer corner of the lid. Don’t worry about being neat; we’ll blend it out shortly.
### Step 5: Blend, Blend, Blend!
Using your blending brush, take the transition shade again and go over the edges of the dark eyeshadow in your crease. This step is crucial as it helps to eliminate harsh lines and creates that signature smudged look. Add a little more dark shadow if needed, and continue blending until you achieve the desired intensity.
### Step 6: Line the Eyes
Grab your eye pencil or gel liner, and line your upper lash line. For a more dramatic effect, you can also line the waterline. Don’t stress about perfection, as you’ll blend this out too. Use your small pencil brush to softly smudge the liner, creating a seamless connection with the eyeshadow.
### Step 7: Highlight the Inner Corners and Brow Bone
To brighten up your look, apply a light, shimmery shade to the inner corners of your eyes and just under the brow bone. This contrast will enhance the smokiness and give your eyes a captivating pop.
### Step 8: Finish with Mascara
Finally, curl your lashes and apply a generous amount of mascara to both your top and bottom lashes. If you’re feeling extra glam, you can add a pair of false lashes for that full, voluminous effect.
### Conclusion
And there you have it—your step-by-step guide to achieving the perfect smokey eye! With practice, you’ll be able to adapt this look for any occasion. Customize your colors, play with shades, and most importantly, don’t forget to have fun while creating beauty. Now, grab your makeup tools and get ready to slay!